Bug Gus Big Bike Rebuild

Mini Dirt Bikes & Pit Bikes Forum

Help Support Mini Dirt Bikes & Pit Bikes Forum:

This site may earn a commission from merchant affiliate links, including eBay, Amazon, and others.
hey mate, with your paint, if you can get your hands on a spray gun you will get a much better job that will last, use an acryllic colur and then go get some 'iso free' 2 pak clear, its made for going over the other types of paint, gives a great shine and hardens like the paint on your car.
Also fuel and other chemicals wont strip it away as easy.
 
your bike looks very simlilar to mine do you know what make it is?

cheers
 
hey mate, with your paint, if you can get your hands on a spray gun you will get a much better job that will last, use an acryllic colur and then go get some 'iso free' 2 pak clear, its made for going over the other types of paint, gives a great shine and hardens like the paint on your car.
Also fuel and other chemicals wont strip it away as easy.

Cheers bananaMan.
man, everyone on this forum is bloody helpful, i really appreciate it.
yeh i have a spray gun, and loads of car paint (guess what other hobbies i suffer from hahaha)

As for my bike,
its a "Small Wheel Deals" Bike.
an 07 model to be exact.

got a picture of yours Malex?
 
Build Update.

I Got home from work today, and decided to do a bit more work.
I remembered im yet to prep the pegmount for white paint! Thanks tommy_38 for reminding me :D

upon removal of the item from the underside of the engine, i realised one of the mounts itself has been torn away and the weld has broken (probably a result of the same accident that destroyed the brake arm)

anyway, i have a day off tomorow, so ill trek into work to weld that up in the workshop, then prime, and paint.

hopefully by tomorow the frame will be all white, and i can get onto tidying up the rear swing arm.

thanks everyone, Gus
 
Build Update #2

Headed into work today and welded up that crack in the pegmount. while i was in there i got some new split pins and various nuts and bolts.

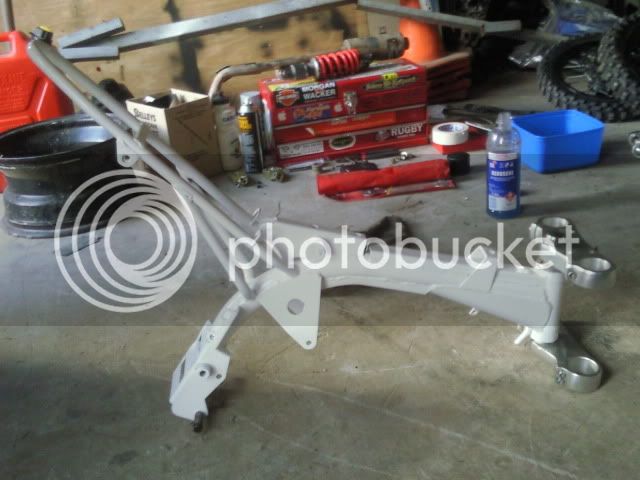
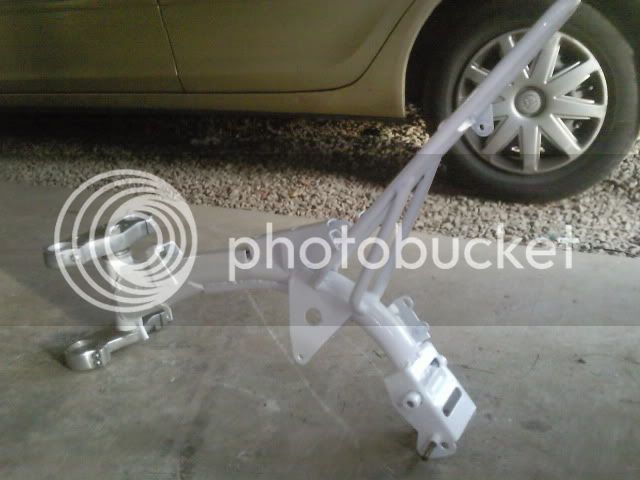
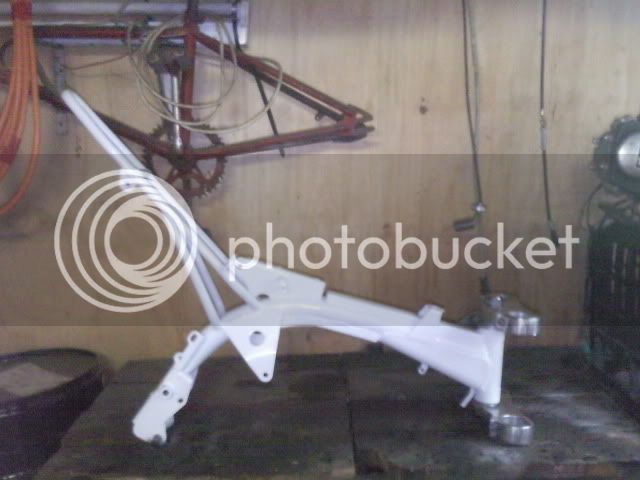
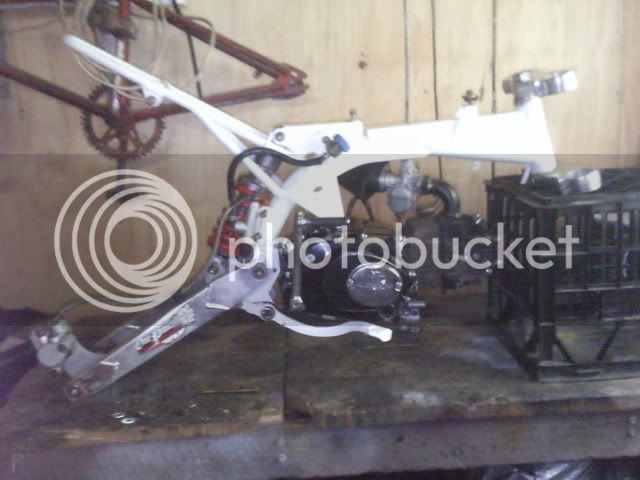
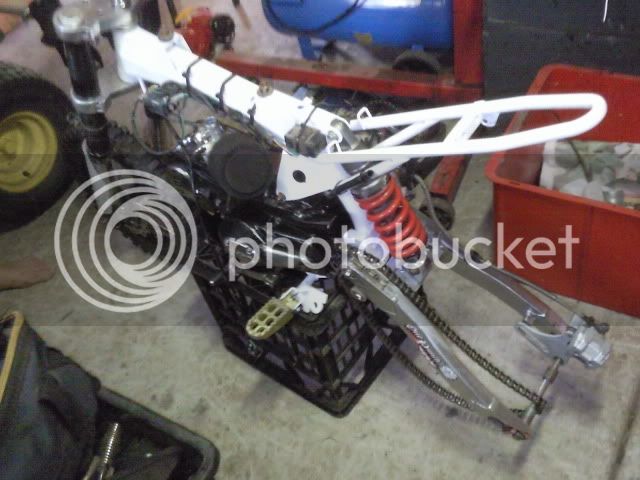
Got home, finished painting the frame, rear brake lever and the pegmount. all white now :D
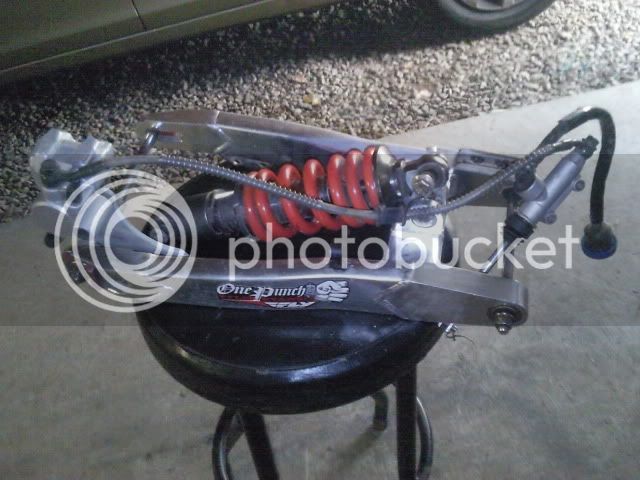
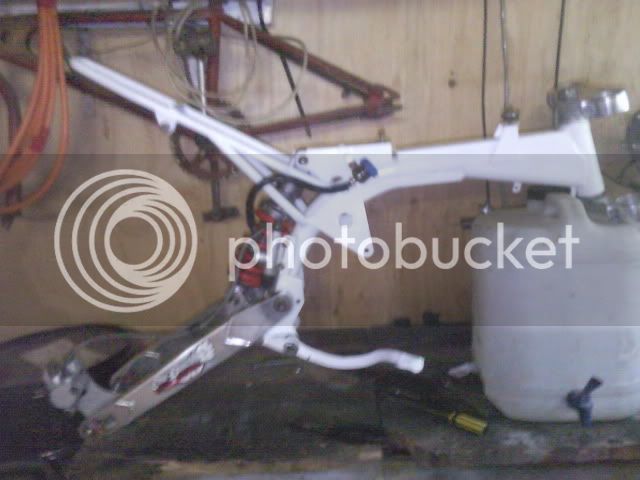
I also went about my way cleaning the rear swing arm/rear spring etc..
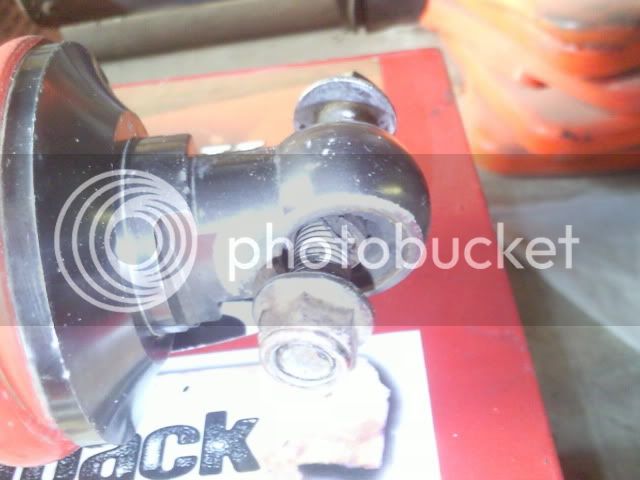
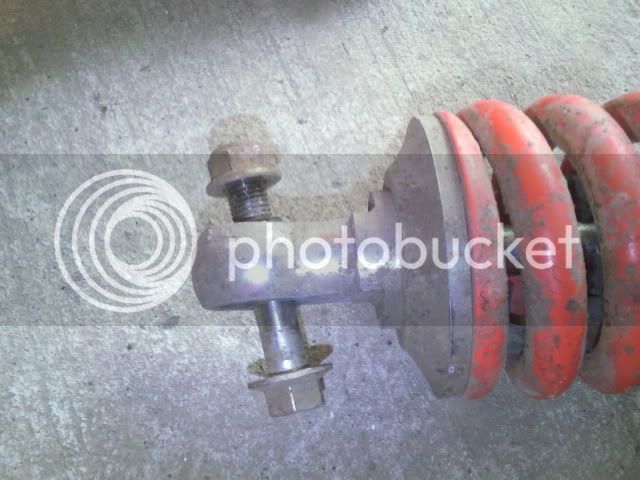
the spring happens to have SHAGGED bushes, so there to be replaced.

i also got my rear brakes to work (clogged up with enough mud to fill the grand canyon)
Cleaned the exhaust...yeh, bit of everything.


Heres how my frame now looks, very very happy :D
Photo103-1.jpg

Photo107-2.jpg


Clean Rear Swing Arm + Spring
Photo108-2.jpg


Heres The Shagged Spring...Its Not Meant To Be Like This I Dont Think.
Photo106-2.jpg

Photo101-1.jpg


Cheers Everyone, Gus
 
yeh looks the goods mate.

id love a different note. im on acerage, so i dont have to worry bout noise complaints :D

ill see how it all goes. got a week before assembly starts again to.
 
Starting re-assembly today lads and ladies.
photos later tonight.

might pack the muffler today....
 
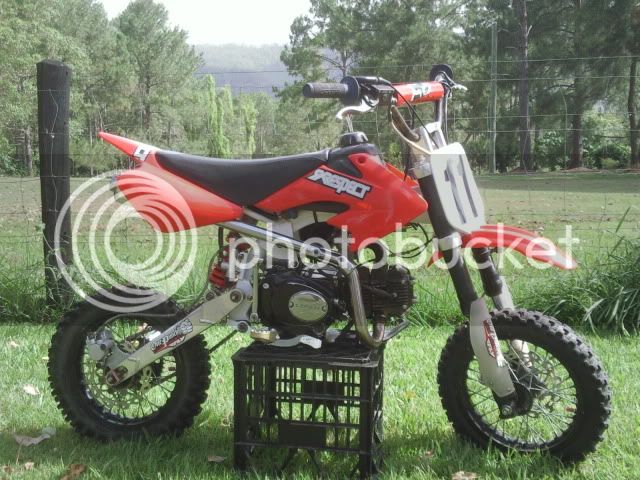
SHES BACK TOGETHER! OH HOW I HAVE MISSED RIDING!

i forgot how much i loved it. one little hiccup on the first ride, spark plug died when i was heading for the first jump, but i had a spare one in the shed, so it all went well.

The bikes going gang busters, running great, all my mates have commented on how good it looks.
Me personally? i LOVE IT! needs gold rims thought, hahaha
I Must thank everyone who has given me tips along the way, i owe you all. :p

anyone wishing to ask questions about the build, or is wanting to do this themselves, dont hesitate to ask me, im here to help :D

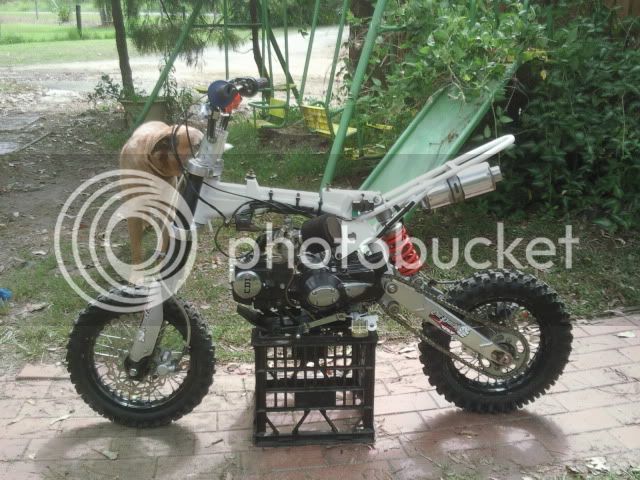
heres some assembly pics for you all.
Photo115-1.jpg

Photo116-2.jpg

Photo117-1.jpg

Photo120.jpg

Theres my puppy in the background..hes almost taller than the bike haha
Photo122-1.jpg
 
looks great mate... amazing what a bit of paint and elbow grease can do..

oh and not sure if you have done this yet but make sure all your earths are scratched back to bare metal.. the main one being the coil earth...
some earth thru the coil itself and some have a earth wire...
 
looks great mate... amazing what a bit of paint and elbow grease can do..

oh and not sure if you have done this yet but make sure all your earths are scratched back to bare metal.. the main one being the coil earth...
some earth thru the coil itself and some have a earth wire...

thank you, will check that tomorow before i got out again :D
i love having acres to play on and days off.
 
Great Job mate! Looks the Goods ;)
Much Cleaner look and you got it done quick...my CRF is STILL apart after about 2 weeks hahaha. Decided to just buy a NEW HD Pegmount so no Powdercoating is required :D
 
good stuff mate,

at least ya getting in there and getting ya hands dirty. best way to learn things about your bike IMO.

cant wait to see yours done mate, should look mint :D

i am pretty happy with how it turned out, sits a little higher in the rear now to, gives a better stance.
 
Back
Top