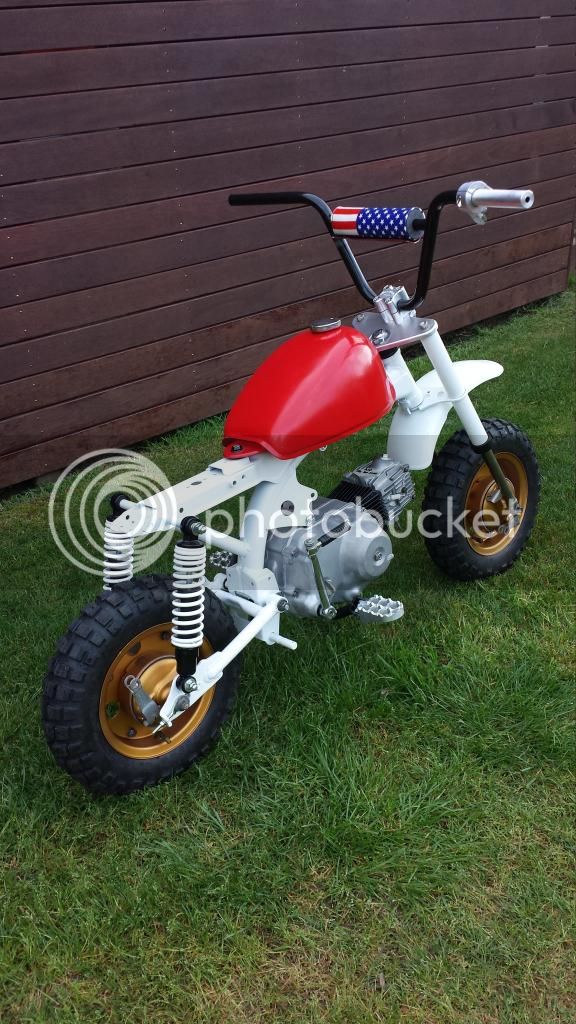
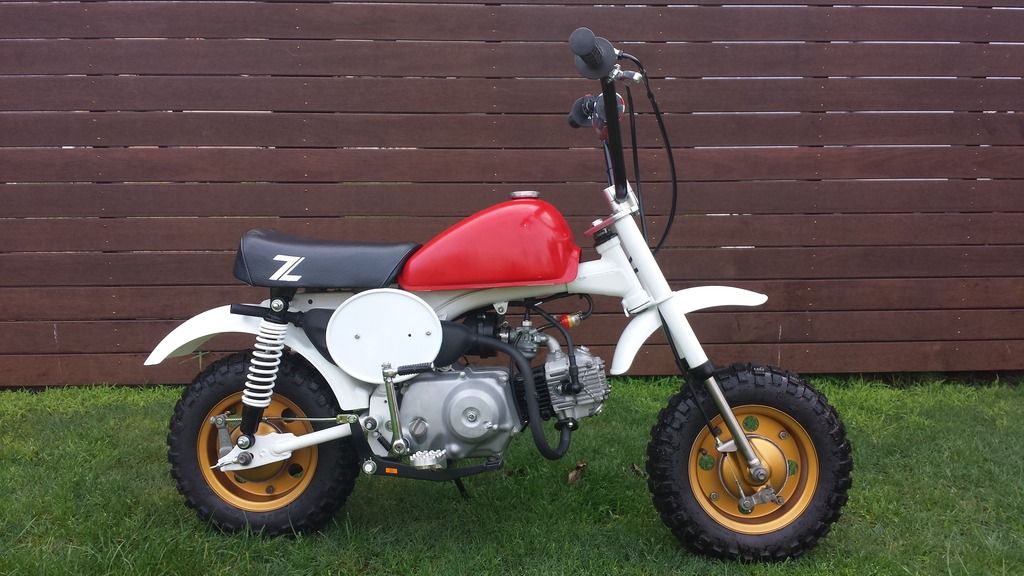
The Ollie Rocket project

Mini Dirt Bikes & Pit Bikes Forum

Help Support Mini Dirt Bikes & Pit Bikes Forum:

This site may earn a commission from merchant affiliate links, including eBay, Amazon, and others.
Got the motor back this weekend -

glass bead blasted cases, new valves, new piston kit, new shifter arm, seals, points, gaskets obiously etc.

Apparently motor looked like it had been breathing a bit of rubbish for quite a while, but otherwise just an old motor. A hone was all that was required for new rings, nothing more serious in the bore, so fingers crossed and we should all be good to go. We erred on the side of do it once and do it right, balanced against the cost of a full rebuild (bearings etc) and I think we did ok. At the very least, it looks pretty at the moment, but as I've said, I"m not building it to sell, I'm building it to hang onto so its worth doing it right.

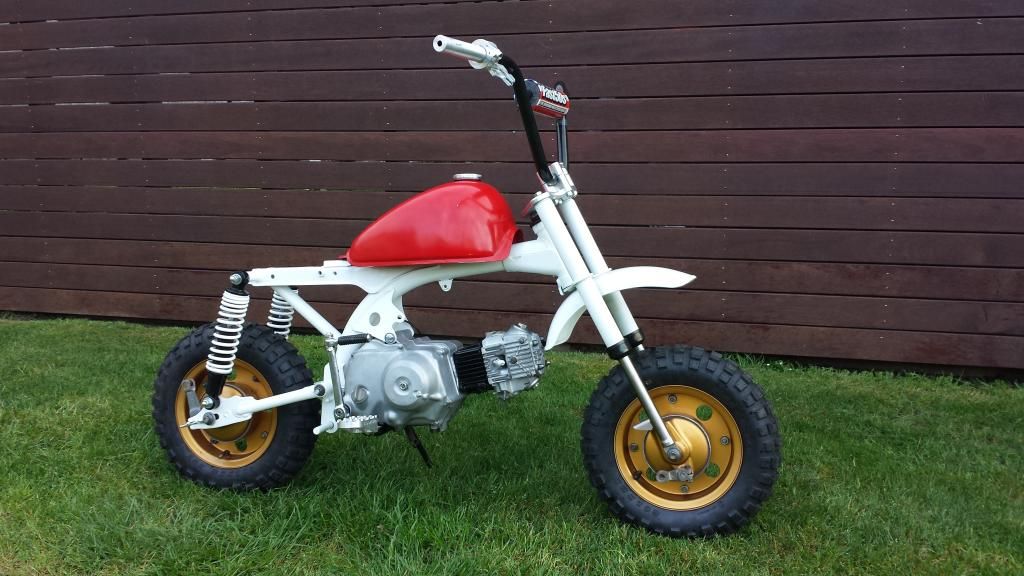
So this is where it sits at the moment. I'll start to get a concise list of the stuff I need to get it going, and start to hunt around for it. So have a think if you're reading this and have some parts that you might like to help a bloke out with?! ;)

Exhuast, seat are the two big ticket items I can see, then its just all the little bits...!

Anyway, here it is...


And for those without kids, humour me,
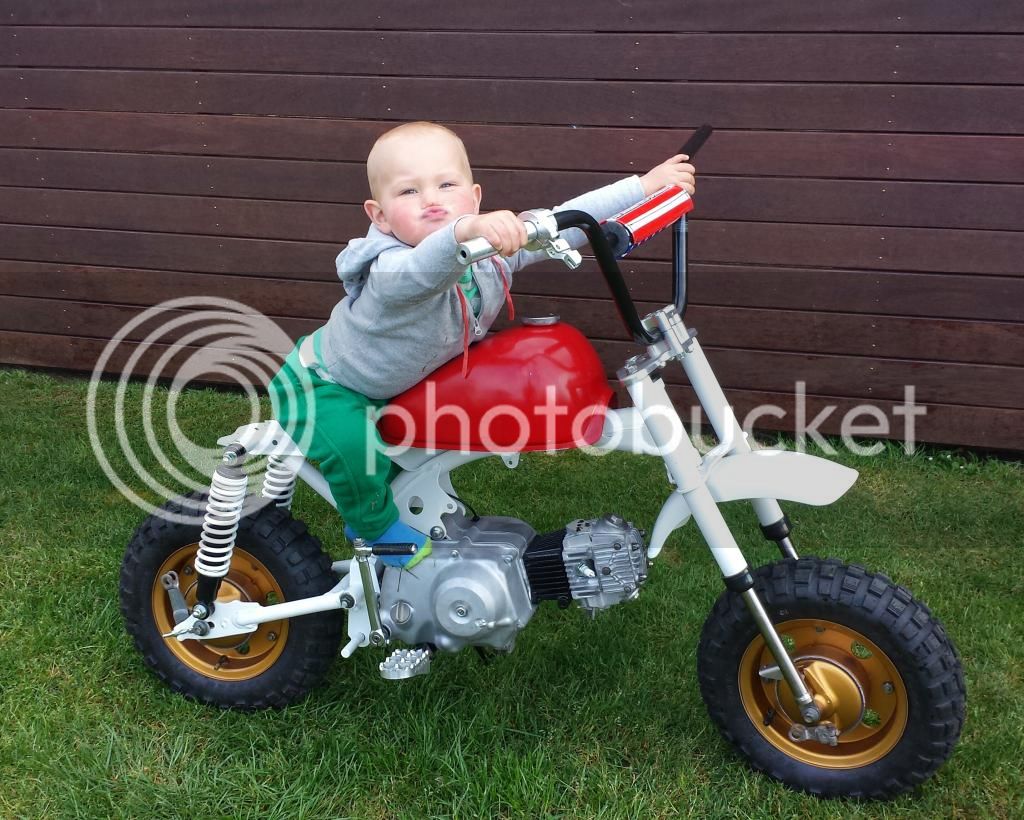
 
This thread is a great read.. starting to look really good and having the finish date set will keep me reading.. good pic with your lad.. ha ha loves it
 
cheers guys, getting the final list together to get it all finished, sure is a bloody $$ thing to play with to do it nicely and once! But as I said, its for keeps so worth the investment for our own enjoyment.
 
Okay, so we've made some good progress! I've got the bike all buttoned up, and it started second kick!!

Let it warm up a bit, and had a bit of a ride. Great, all things good for a first start.

Then things start to get a bit annoying. Naturally as you gently roll around, you slowly start to test things out and see they work. And then I started to have issues.

The carby tune is all up the put. I've torn it down quickly, and its all pretty clean. The main jet is clean, the smaller jet is clean, and the bowl isn't too bad. I can't see any real leaks anywhere upon cursory inspection. But what I am finding is that its ok off idle (in broad terms) but it won't rev out. It just sputters and bogs after about 1/4 throttle. I've had the clip set at 4 down at one extreme, and 2 down at the other and can't get it to rev out cleanly. The other thing is that it doesn't seem to drop rev's crisply. It seems to hang an awful lot; you give it a blip and its extremely slow and inconsistant at dropping back to idle. Any ideas where I can start to isolate the problem?

The other problem is that the gearbox is not playing. I seem to have 1st and second gear, and thats it. I can't get the shifting to work to get into neutral or 3rd. Is it something to do with the clutch arrangement, is it an adjustment?

[URL=http://s268.photobucket.com/user/ash_on_mtb/media/z50r/20150718_094536_zpsms7bvz27.jpg.html] [/URL]
 
Wow that's come up awesome mate ! +rep's :thumbup:


With the auto clutch, try adjusting the nut/stud on the clutch cover, see if that help's.
Loosen the nut and turn the stud in 1 full turn.
Now turn the std back out anticlockwise till you feel a slight resistance, now turn the stud back in between 1/8 and 1/4 of a turn and do up the lock nut, then try shifting gear's with it running.
Don't turn the stud too much (over 2 full turn's) while adjusting it

Carby, take the emulsion tube out (#2 in pic below) and check that the hole's across the jet are all open.
Poke a strand of copper wire through them and see if any gum/varnish come's out.
It's hard to spot by eye, but if flake''s come out then that would be restricting the hole's
Also blow the thread's in the base of the carby out well where the emulsion tube screw's into.
Check the hole in the slide side of the emulsion tube is round and that there's nothing restricting that.

On the air filter side of the carby you'll see 2 small port's.
Blow compressed air in through each one, you should feel air coming out the main jet when you blow through 1, and then through the pilot jet when you blow through the other port.
You can remove the mixture screw and blow through the pilot jet port and check if there is anything restricting that circuit too while it's apart.

The float level should be around 18mm too.
With the fuel bowl off and carby upright lift the float till the tab in the centre of the float arm just touch's the pin on the needle (needle and seat)
At this point the bottom of the float should be 18mm from the bottom of the base of the carby(the face where the fuel bowl bolt's up to)
If the height is higher or lower than that ^ it will also affect how the carby run's

attachment.php


Here is a copy of a CRF50 service manual too-
http://www.thejunkmanadv.com/uploads/8/4/0/3/8403513/xr_50_crf_50_owners_manual.pdf
 
without trying it yet, I'd say you'll be spot on the money with fixing the carby. I just didn't know which areas to focus on and how to go about it, so thanks for all the detail!! Much appreciated!!

The gearbox issue did indeed turn out to be the auto clutch adjuster, so thats adjusted and now perfect. Love a good quick solution!
 
just torn down the carby, moved the clip down one and its no better. I can get it passable off idle and nearly half throttle but from then on it just goes to hell... Just won't rev any further. Maybe air? Surely it has enough fuel?! I do recall some metal baffle plate that goes in the air cleaner, is it possible that thats around the wrong way or something? Maybe I give it a quick squirt without an air cleaner.
 
Couple of issues i have had with zed motors giving similar issues.
Check your points gap, with my J1 i spent days trying to get it to run right, pulled down the carb half a dozen times searching for blockages, everytime it revved up it would pop and fart and carry on from mid revs onward, seemed like a carby issue. The points gap was set too wide after i rebuilt the motor, closed down the gap to spec and all was well again.
Second one that stumped me was my mates bike. Was acting the same, wouldn't rev up and would carry on from about 1/3 throttle onwards. Ripped off his aircleaner and it seemed to rev a tiny bit better but still bogging down, pointing towards a rich mixture. After pulling the carb apart a few times notice the main jet was loose (push fit on a J1 carb) , it has an o ring on the main jet that was cracked and gone hard. We wrapped a couple of layers of electrical tape around the jet until the jet was a snug fit (trimming off the excess) to give it a seal where this o ring should of and she ran perfectly. The failed o ring was allowing fuel to be sucked around the jet whenever the needle wasn't blocking the main jet hole (from 1/4 onwards). 5c o ring ended up costing my mate $30-40 of his beer i had drank over a few nights after work sorting it out with him.
Couple things you can try.

I see it says your in SE melb. Im in Chelsea, if you can't sort it maybe i can yank a carb off a going bike and bring it over to try on yours during the week.
 
Last edited:
Cheers for the tips mate, will have a look at things from that angle.

I'm not adverse to thinking it might be points, or at least 'electrically' related. Guess its the same old thing of keep it simple. Start at the beginning and all that.

Had the air cleaner off and was marginally better but not specificallly in the area thats giving me the most trouble, ie deal with air later when chasing the 1%'s.

MAin jet is screw fit but I see where you're going. I'm trying to work out if its starving or flooding - any idea how to check? Can't plug chop it so that doesn't work.. Seems that when it goes onto the main circuit, it has the issues.

Grr, I'm confusing myself. Will start at points gap, I know the plug gap is good and we'll work in from there. I know it has enough air as it doesn't get affected by removing the air cleaner, but I did notice that adjusting the idle wasn't as 'direct' as I would have thought. Takes a blip of the throttle, sometimes a few, and then it will surge, then settle then eventually find its new idle. Just grumpy, all in all...

See how I go. Working away this week, bit messy for the next few weeks so it might be online help desk. Thanks for the help, and if you have any other ideas..!!
 
A partly blocked emulsion tube will affect the main jetting, same with the float level if it's too high or too low
Too high on the float level will make it too rich.

Surging is related to being too lean, you might need to clean out the pilot jet tube?

Removing the air filter will lean it out, pulling the choke on a little will richen it
 
So I had a chat to the bloke who gave the motor a tidy up, on other matters, and mentioned my problems.

Carby for sure, and cleanliness. He locked into the pilot jet, as its not one that can be removed, he suggested soaking in something caustic (vinegar? CT14?) for a while, and then lots of compressed air and carby cleaner etc. The problem seems to be in the progression from the pilot jet to the main jet, but I think the overall consensus is that there is still a blockage. Maybe a few days soaking in lovely BP98 has loosened things up, haha.

Float is nylon and unable to be altered, so I'm hoping that float level is by default, correct...

I'll tear it down and look even closer.

Thanks for the tips, apprecaiate the help.
 
Also, anyone know where I can get the same tank sticker as this one??

1987Z50R.jpg


I'm thinking of getting some vinyl from a sign writer to stick onto the number plates to make them red like this, but not sure.

Anyone got any other ideas about make the bike look 'finished'? I'm thinking its missing something (other than the front exhaust guard - Anyone got one of them!!?)
 
They have them here (first site i found on google search)
Honda 1986 - 1987 Z5R Tank Decals

Just so you know, the 86/87 z50r tanks are blaze red and not tahitian red like earlier models, this decal has a background in blaze red which may stand out on a tahitian red tank. Not a huge difference but they definitely are different colours. On my 87 i have tahitian red number plates as the blaze red ones aren't reproduced and genuine ones are pricey if you can find them. You can sorta see the difference in colour here

12565d1460783403-ollie-rocket-project-img_20160416_1856-jpg


IMG_20160416_1856.jpg

Edit: sorry guys for dredging up an old thread, thought i clicked on Unread posts but somehow got the z-minis section, FAT fingers!
 
Last edited:
Back
Top