Mini Dirt Bikes & Pit Bikes Forum

Help Support Mini Dirt Bikes & Pit Bikes Forum:

This site may earn a commission from merchant affiliate links, including eBay, Amazon, and others.
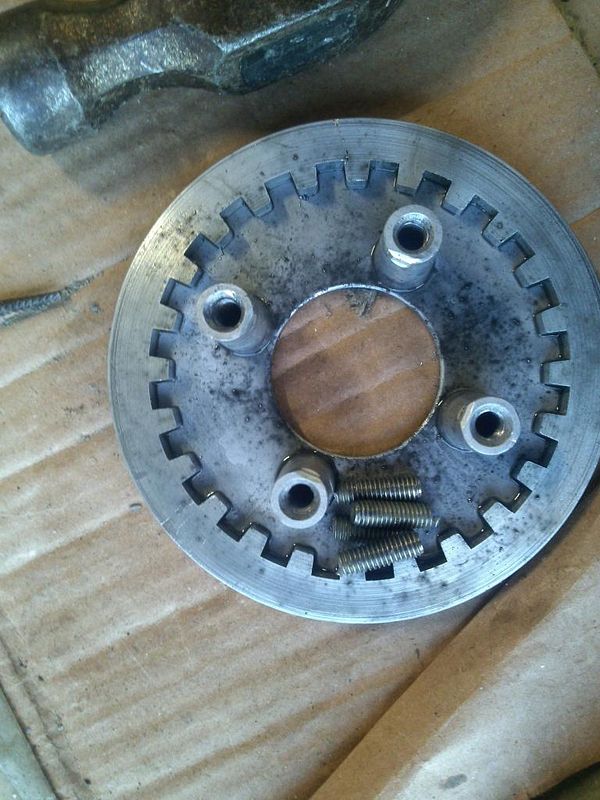
King Dodgy over here :p

Never let a nut beat me, bash them I say

Thats why you get impact extensions.

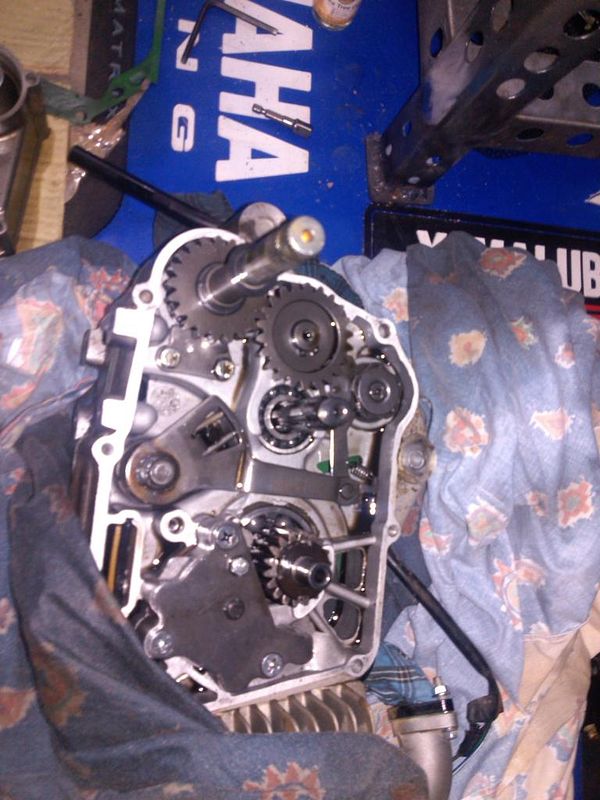
clutch nut tools are 1"2" drive aren't they? You won't break an extension, they aint that tight.

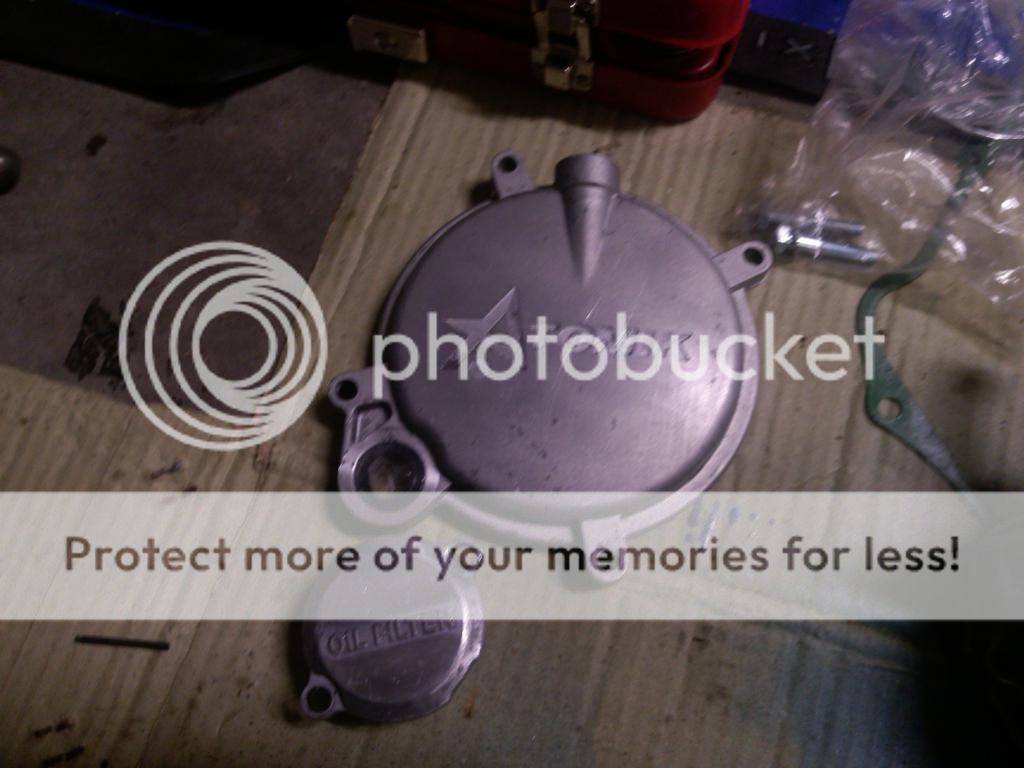
Little tip, I know people hate to do this but i always do it as Ive had clutch nuts come undone twice on me, drop a teeny weeny bit of blue loctite on the bugger and let it set for an hour before filling the case with oil. Havent had one come undone since. Or maybe they are afraid too after the bashing.
 
i Loctite the clutch nuts on mine too, and recently started doing my flywheels too.
the only thing with using an extension bar between a socket and rattle gun is you loose some of the force with the movement in the joints.
 
I think best way to crack it loco is to get someone with a 14mm on your crank side, or a screwdriver firmly jamming the gears (a but risky)
Worse comes to worse you can always smash it till nearly the threads and break it off..
I think you should be able to find success doing the two methods stated above.. or with a longer bar or something attempting to shock the nut off as a rattle gun would..
 
you can jam a thick rag doubled over in the gears between the clutch basket gear and crank gear
 
anyone selling a yx160 clutch cartridge cover? or anyone know how to takle the logo on my'n?
no-offence but its abit unsightly.....
Maybe some jb weld (alot) and some time and then some sanding?
Mine still rocks the pitpro badge :p But my build is in no way as much quality as yours :p
Have ya got the clutch off yet?
 
rough it up so the white is scratched up with some 80 grit free cut paper
then give it a skim of bog, and sand it back with a block and 180/320
then etch prime and paint
 
well, get the bugger off!
rattle gun made short work of it!! yeah the extension didnt shatter either so thats a plus!
IMG_20140823_164258_zpsjlhtrtxv.jpg

Got the forks on!
IMG_20140823_164324_zpssuppiziy.jpg

cant figure out how to release the shaft itself as in the little forks that go up to the shift drum?
 
take the idler gear off the kick start, the one in the middle that joins the main kick start gear to the clutch
then pull the detent lever down that sits on the shift drum,
now you should be able to pull the shift arm down under the shift drum.star and slide the gear shift shaft out
 
take the idler gear off the kick start, the one in the middle that joins the main kick start gear to the clutch
then pull the detent lever down that sits on the shift drum,
now you should be able to pull the shift arm down under the shift drum.star and slide the gear shift shaft out

LOL! i hope i can it off by hand(1/2 drive)
IMG_20140823_171920_zpsknogynyp.jpg

attacking her with some ezyouts!
IMG_20140823_174428_zpsmkxzsiiy.jpg
well that worked, after snapping 5 different size drill bits
IMG_20140823_200223_zpsofwv6gej.jpg
pulled out the paint stripper and gave these fellas a coat!
 
got her out, dont have any pics, lol oops!
i may invest in a gear shaft support!!! hopefully this wont happen again....
planin to get some more parts ordered this week!
any ides for carby jet sizes? (with mild head work) im gunna port and polish the head unless i can get a tbv2 head for free! :p lol thats not gunna happen! yeah so port and polish, maybe some titanium retainers aswell....
dont want to go to crazy!
cheers loco!
 
lol!!! nah zwebx your build is tight!!!! mine doesn't even run!
yeah i'll give that a whirl craig sounds like a winner to me, no offence zwebx!
I was going to say bog to begin with :p but think of the boots rubbing on it it would end up flaking off imo
 
Bunnings sell's Plastibond which dry's hard like fibreglass too, you can buy it in a small tube kit for about $10

or this is good stuff too, Selleys 110g Knead It Steel Epoxy Putty I/N 1235240 | Bunnings Warehouse
just cut of the amount required, mix it up well so there's no lumps and it has an even colour etc, then use a spatula to fill in the low sections, and sand it back when it's dry. cost's about $16

just make sure you degrease it, and really rough up the area where you want to fill with 36 or 80 grit sandpaper first, otherwise it won't have anything decent to grip to.

that paint you linked is for exhausts, it drys to a very dry looking finish
best off using engine enamel
 
Last edited:
Bunnings sell's Plastibond which dry's hard like fibreglass too, you can buy it in a small tube kit for about $10

or this is good stuff too, Selleys 110g Knead It Steel Epoxy Putty I/N 1235240 | Bunnings Warehouse
just cut of the amount required, mix it up well so there's no lumps and it has an even colour etc, then use a spatula to fill in the low sections, and sand it back when it's dry. cost's about $16

just make sure you degrease it, and really rough up the area where you want to fill with 36 or 80 grit sandpaper first, otherwise it won't have anything decent to grip to.

that paint you linked is for exhausts, it drys to a very dry looking finish
best off using engine enamel

ahhh i see i linked the wrong one lol! Dupli-Color Engine Enamel Gloss Black 340g - Supercheap Auto Australia
yeah the sellys knead it looks tempting, but it can only with-hold itself to 120 degrees Celsius? any ideas?
 
they recommend you don't run a Daytona over 90° C otherwise damage can occur.
 
Back
Top