gottagetacheaperhobby
Moderator
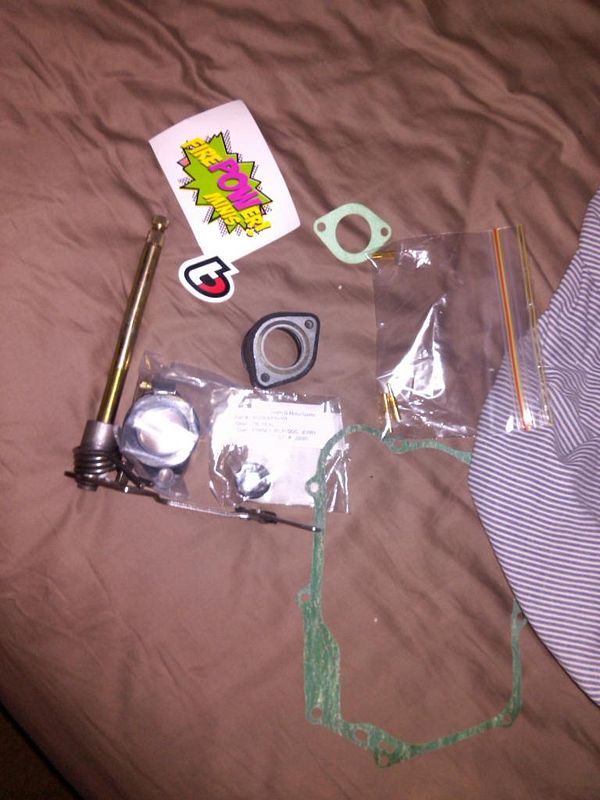
i have a 38,40 and 42 pilot jet i can send you if you send me the 37 pilot you have...


i have a 38,40 and 42 pilot jet i can send you if you send me the 37 pilot you have...

 i bought 80 of them for 8 bucks and i spend more time chaingng them than i do using them
![Bike Phone Mount Holder, [Camera Friendly] Motorcycle Phone Mount for Electric Scooter, Mountain, Dirt Bike and Motorcycle - 360° Rotate Suitable for iPhone & Android Smartphones from 4.5-7.0 inches](https://m.media-amazon.com/images/I/51ZirRrsA+L._SL500_.jpg)
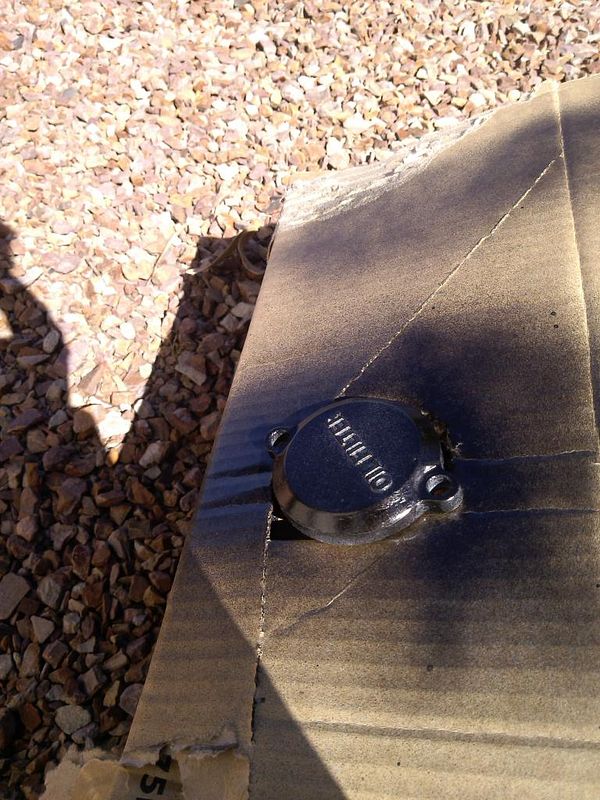
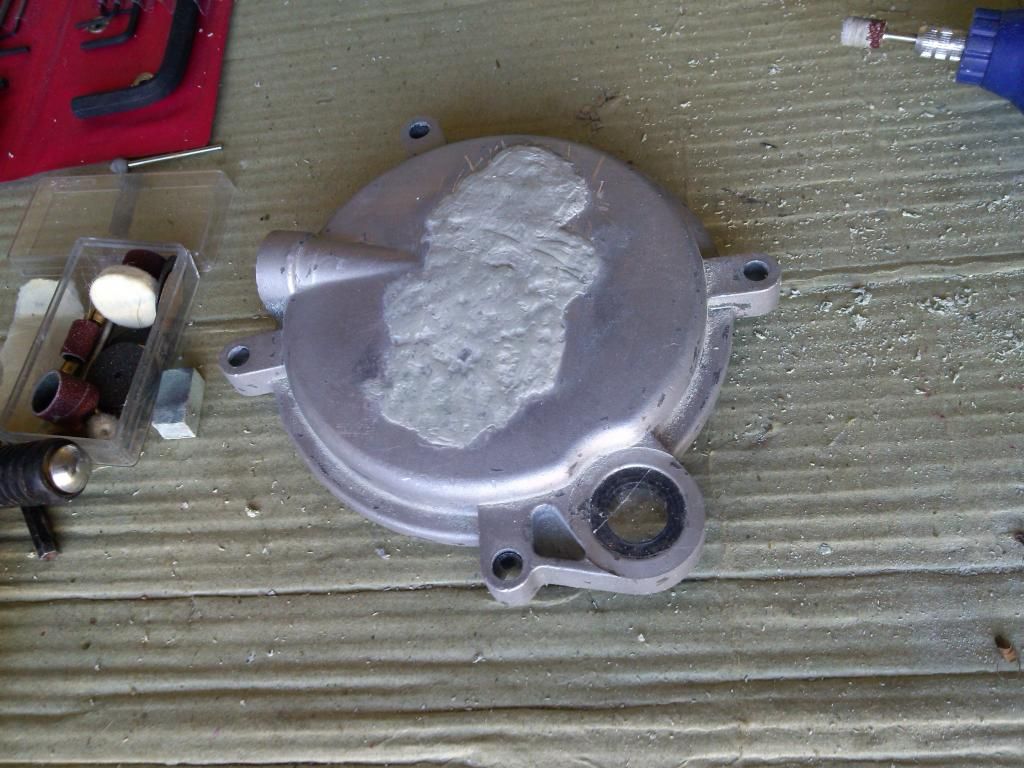
sanding rolls will just clog up like you've found out by the looks of it.
get some 80 grit freecut paper, 3m or norton, and use it on a hard sanding block
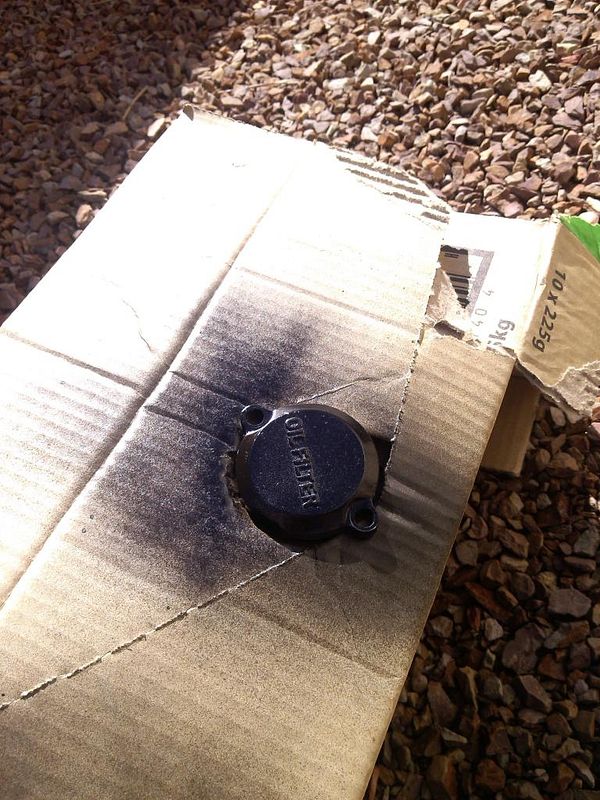
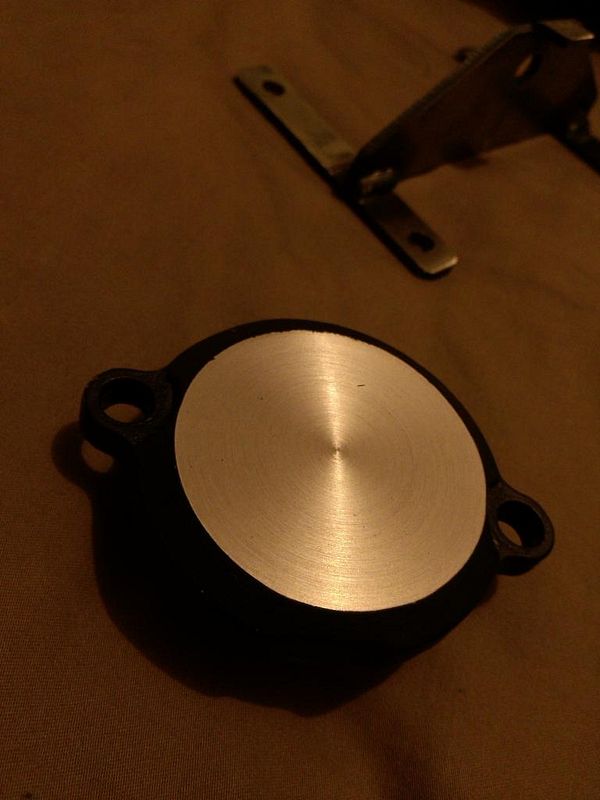
if you are carefull you might be able to file it back close with a coarse file, then finish it with sandpaper
leave enough filler to finish it off with 180 grit paper
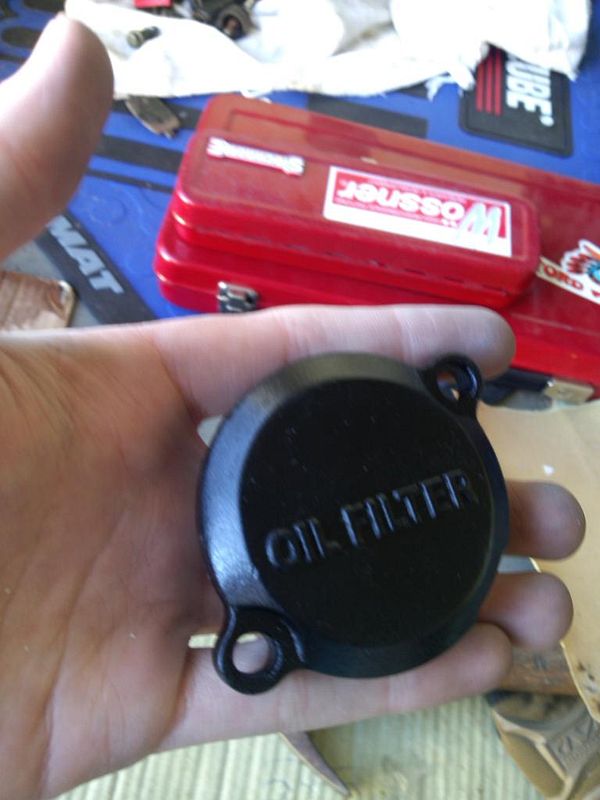
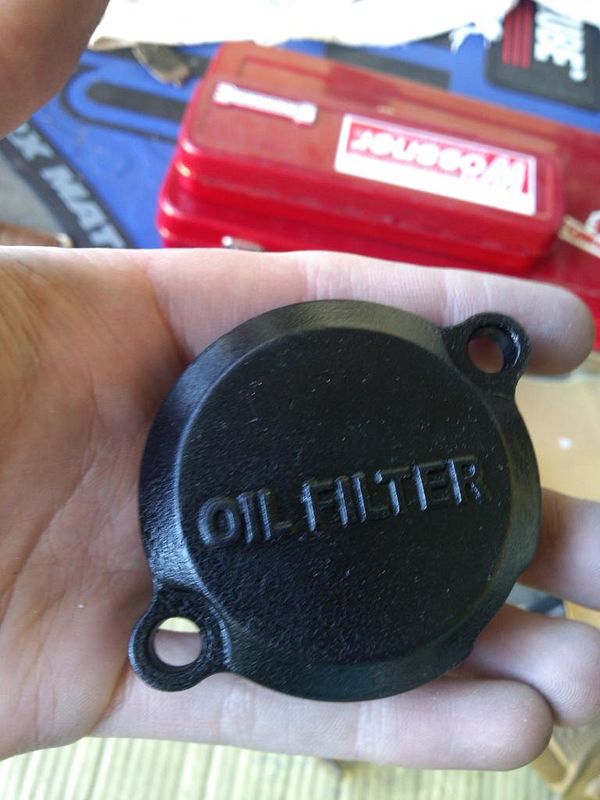
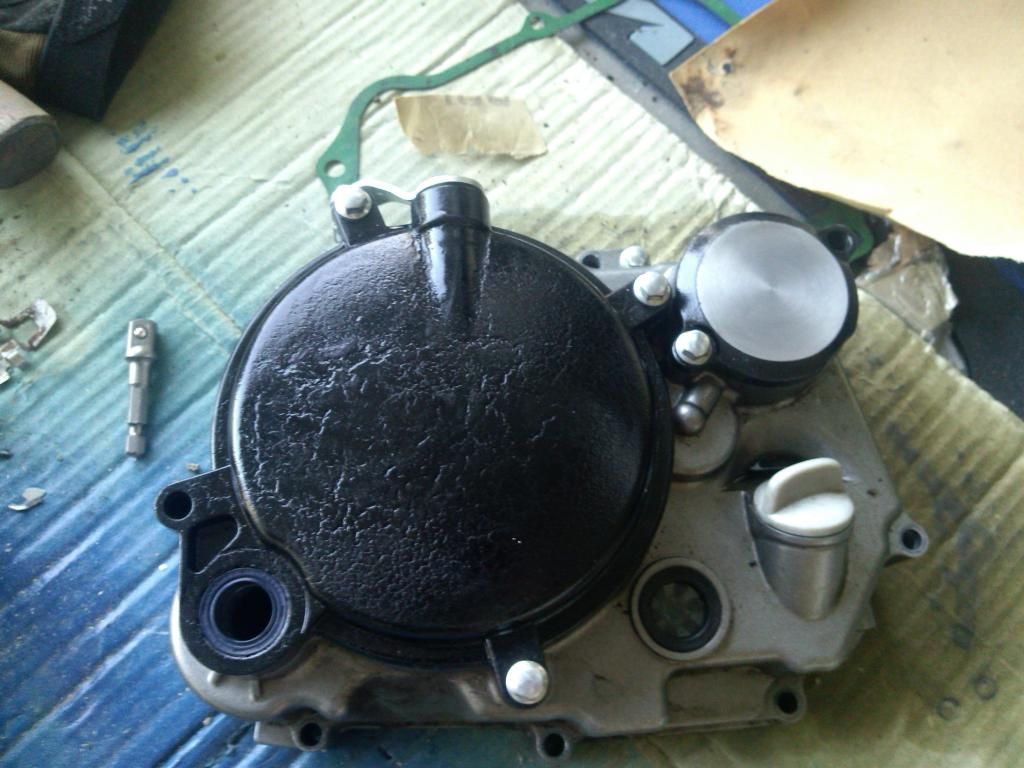
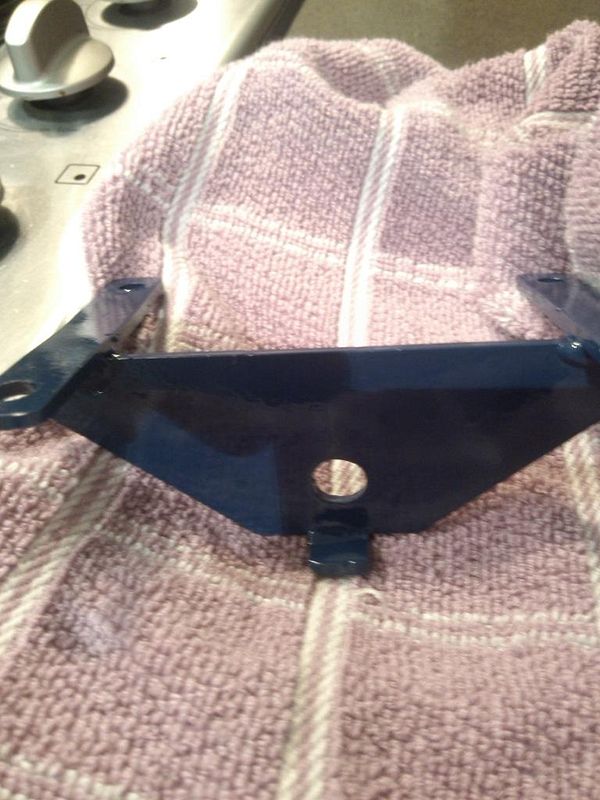
is the black wrinkle finish ? a wet coat of paint will wrinkle up a bit more


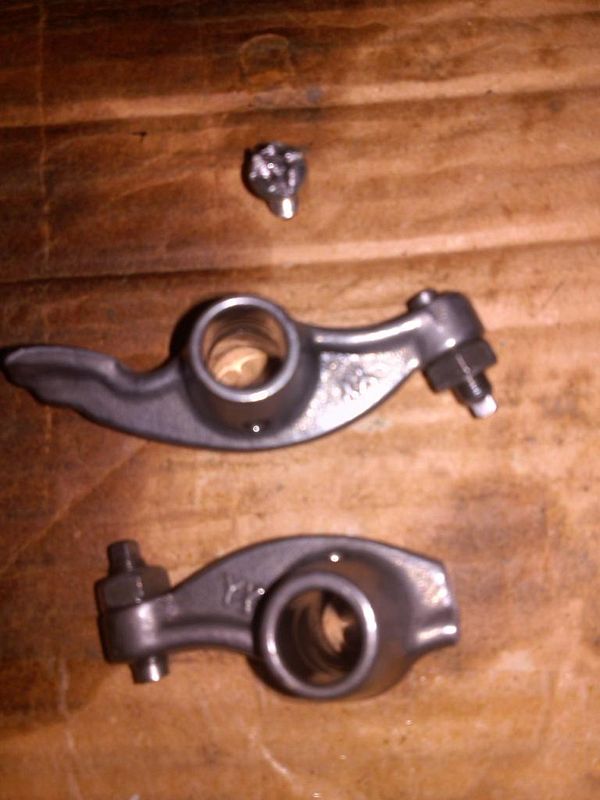
Thought roller rockers only allowed for more aggressive angles etc i thought on a stock cam it would be fine?that's the same thing that happened with Brentons old Z155
zac if he was to fit roller rockers, he'd need a roller cam to go with it


![JOYROOM Bike Phone Holder Mount, [Anti Vibration] Bicycle Phone Mount, Dirt Bike Accessories for All 4.7-7.0" Phones, Motorcycle Phone Mount for iPhone 16 Pro Max/15/14/13/12 Samsung S25 Ultra/S24/S23](https://m.media-amazon.com/images/I/41MPtPvknUL._SL500_.jpg)


![LISEN Bike Phone Holder, [2025 Upgrade] Motorcycle Phone Mount, Bicycle Phone Holder, Handlebar Phone Mount, Dirt Bike Accessories, Bicycle Accessories, for iPhone Samsung Google Pixel, Black](https://m.media-amazon.com/images/I/41FJGrZQ5ML._SL500_.jpg)


![Zewdov Motorcycle Phone Mount, Upgrade Bike Phone Mount [1s Lock][Secure Protection], 360° Rotatable Phone Holder for Mountain Bike/ATV/Scooter Handlebar, Compatible with iPhone/Samsung 4.7-6.7"](https://m.media-amazon.com/images/I/51lvX8e2C3L._SL500_.jpg)

