wellll... i was planning to machine the front axle, due to the fact it was manufactured incorrectly, so what do you do when you have access to a horizontal mill? you FIX IT!! 
but thats the rear axle I'm covering...? ok so i had planned on painting the ends of the axel's just so it looked tidy....
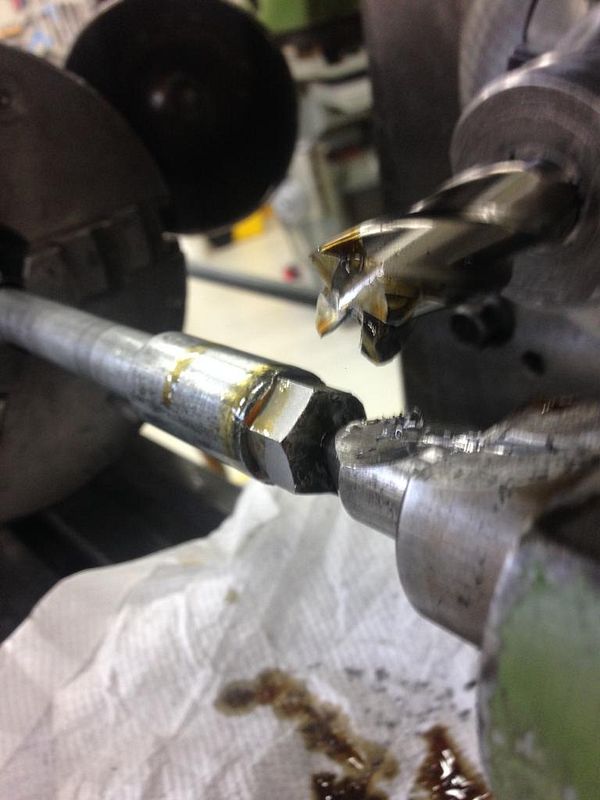
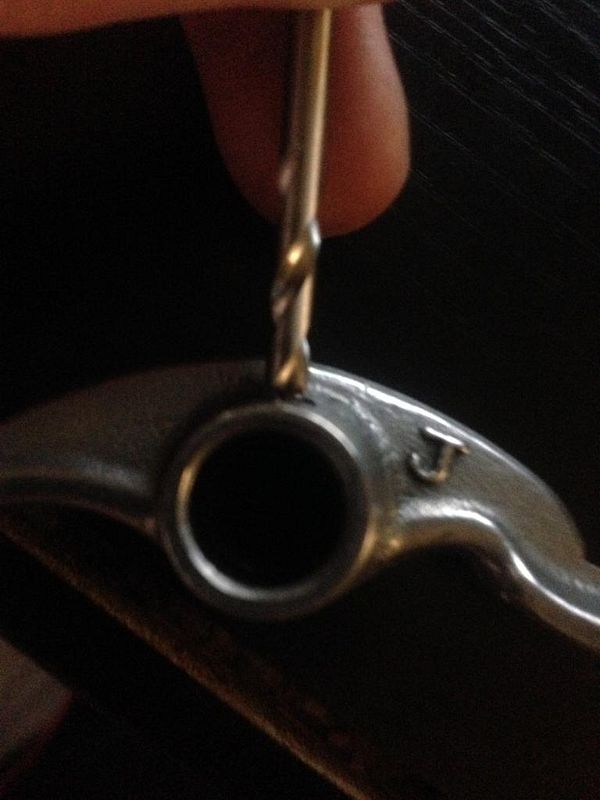
So here is the axle up on the mill bed in a special chuck... cant exactly remember what its called
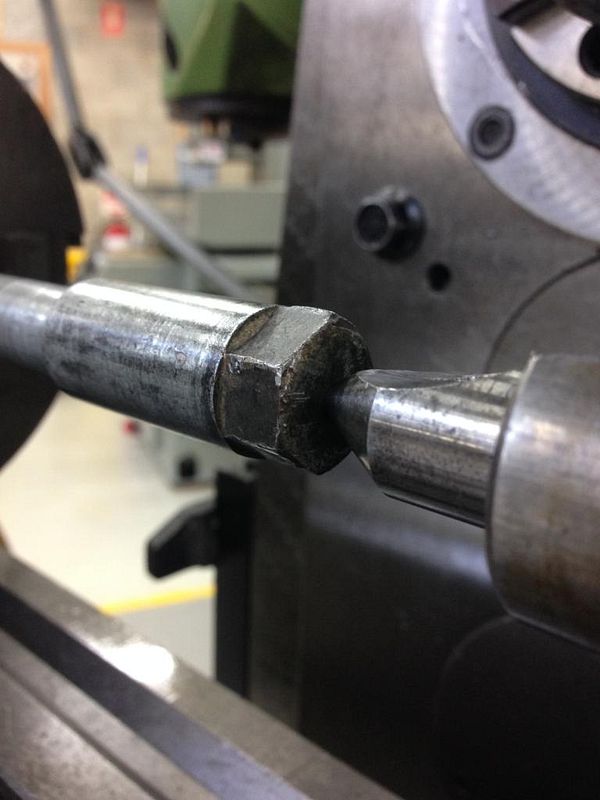
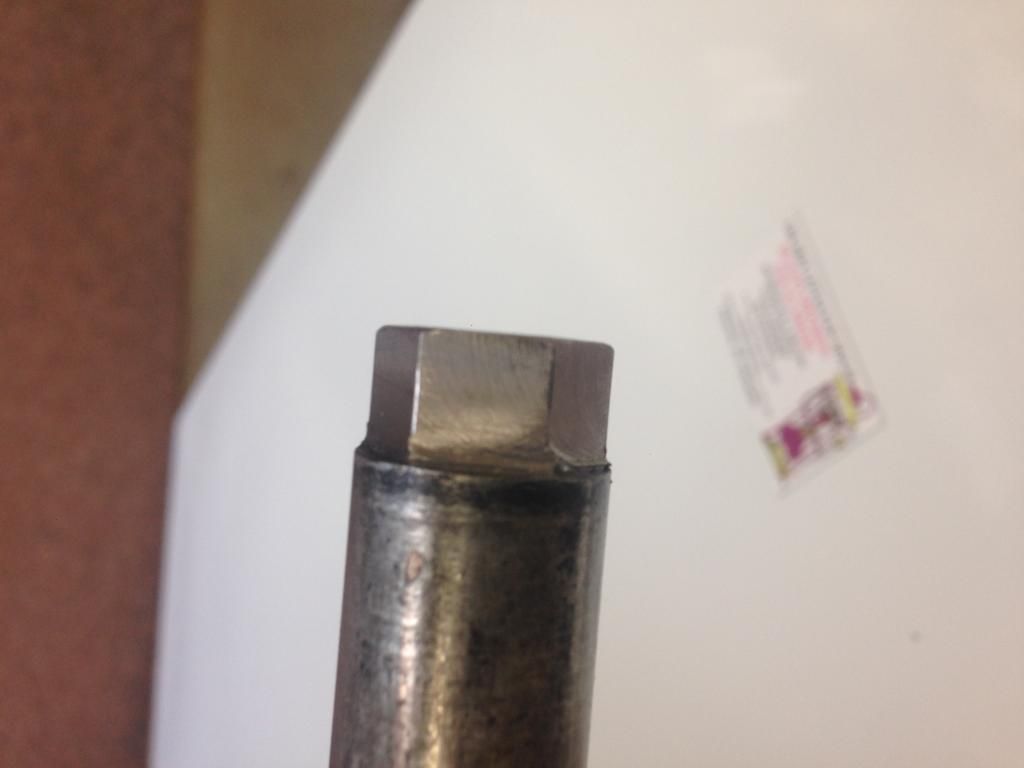
So wait why did i machine down the end? well what was happening was the socket was getting really stuck on the end.. like i had to hit it with a hammer to get it off.. fun!! the socket was also biting into the hex points... as you can see below...
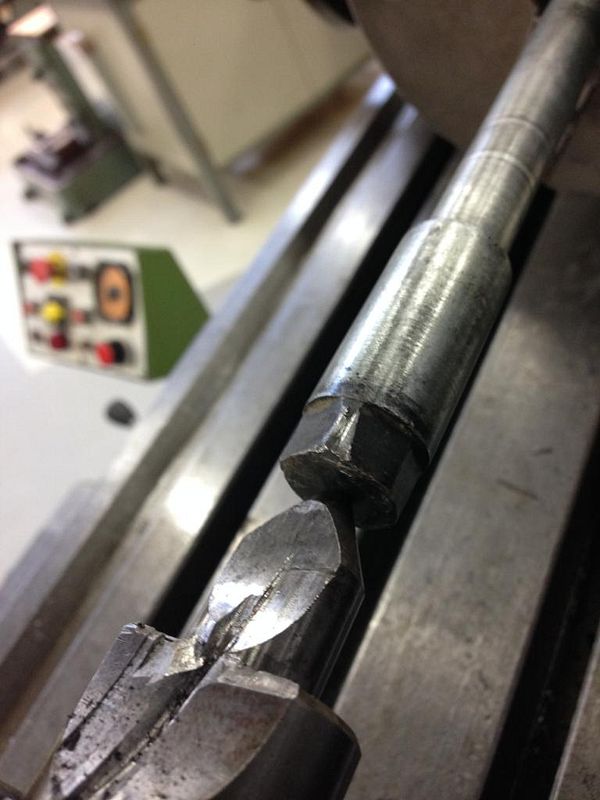
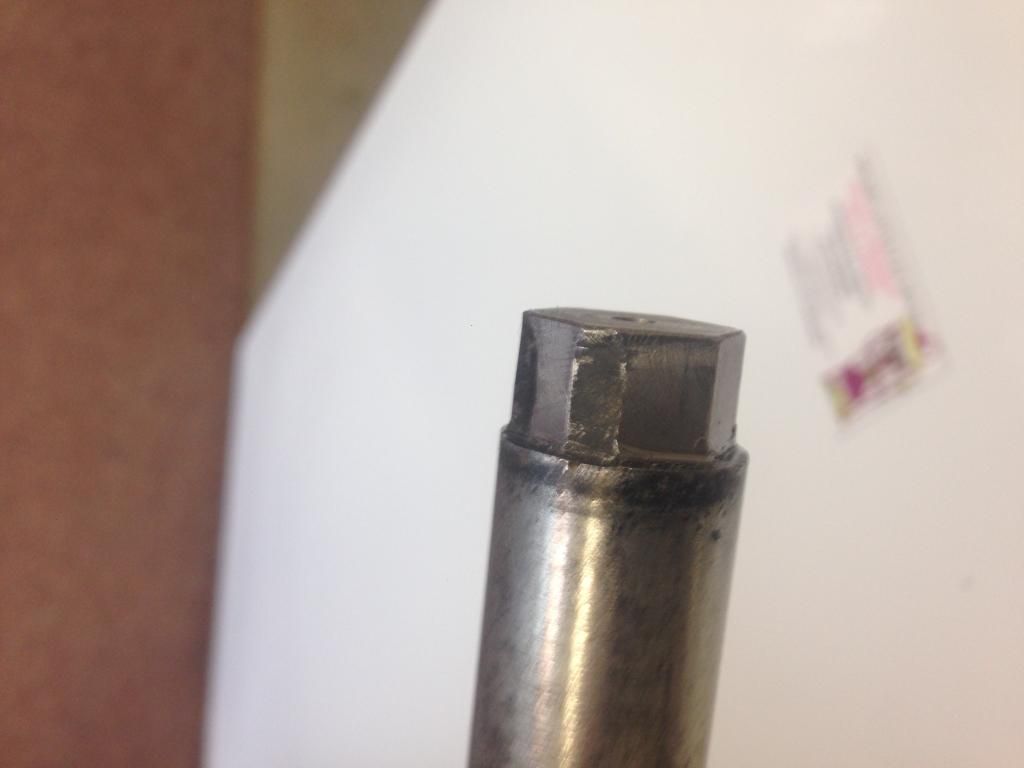
So here you can see that I have made a full pass on the axle... I found that i was 0.22 of a mm out... so i fixed that up and she fits very snug!
Below you can see how bad the part once was... ie the "corroded" and the "mill" "finish
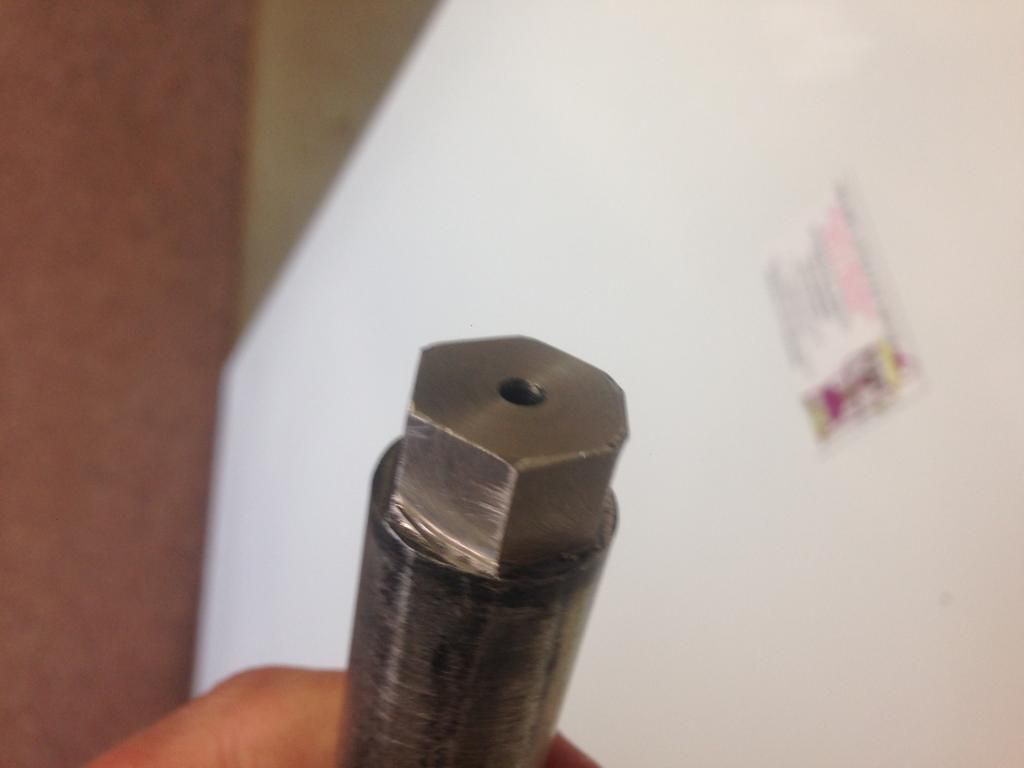
now for paint.... welllllll i had to go alloy finish paint... because i reckon it gives it a bit of "factory finish" to it and it doesn't make it an eyesore.. also sandblasted the ends and spacers and head of the bolts... i left the actual axle shank alone as you are meant to keep it as shiny as possible..
this one is a bit blurry but you should get the jist of it!
Stay Tuned!!!
but thats the rear axle I'm covering...? ok so i had planned on painting the ends of the axel's just so it looked tidy....
So here is the axle up on the mill bed in a special chuck... cant exactly remember what its called
So wait why did i machine down the end? well what was happening was the socket was getting really stuck on the end.. like i had to hit it with a hammer to get it off.. fun!!
the socket was also biting into the hex points... as you can see below...
So here you can see that I have made a full pass on the axle... I found that i was 0.22 of a mm out... so i fixed that up and she fits very snug!
Below you can see how bad the part once was... ie the "corroded" and the "mill" "finish
now for paint.... welllllll i had to go alloy finish paint... because i reckon it gives it a bit of "factory finish" to it and it doesn't make it an eyesore..
also sandblasted the ends and spacers and head of the bolts... i left the actual axle shank alone as you are meant to keep it as shiny as possible..
this one is a bit blurry but you should get the jist of it!
Stay Tuned!!!


![LISEN Bike Phone Holder, [2025 Upgrade] Motorcycle Phone Mount, Bicycle Phone Holder, Handlebar Phone Mount, Dirt Bike Accessories, Bicycle Accessories, for iPhone Samsung Google Pixel, Black](https://m.media-amazon.com/images/I/41FJGrZQ5ML._SL500_.jpg)


![JOYROOM Bike Phone Holder Mount, [Anti Vibration] Bicycle Phone Mount, Dirt Bike Accessories for All 4.7-7.0" Phones, Motorcycle Phone Mount for iPhone 16 Pro Max/15/14/13/12 Samsung S25 Ultra/S24/S23](https://m.media-amazon.com/images/I/41MPtPvknUL._SL500_.jpg)


![Bike Phone Mount Holder, [Camera Friendly] Motorcycle Phone Mount for Electric Scooter, Mountain, Dirt Bike and Motorcycle - 360° Rotate Suitable for iPhone & Android Smartphones from 4.5-7.0 inches](https://m.media-amazon.com/images/I/51ZirRrsA+L._SL500_.jpg)


![Zewdov Motorcycle Phone Mount, Upgrade Bike Phone Mount [1s Lock][Secure Protection], 360° Rotatable Phone Holder for Mountain Bike/ATV/Scooter Handlebar, Compatible with iPhone/Samsung 4.7-6.7"](https://m.media-amazon.com/images/I/51lvX8e2C3L._SL500_.jpg)